I have always ‘adored’ the classic white
tipped French Manicure, which has been worn by many celebrities and frequently
requested in Nail Salons. Funnily enough, this much-loved mani is also called
‘la French’ (this name always makes me giggle!)
Luckily, now you can create your own
salon-worthy mani right in the comfort of your own home! Feeling ambitious?...
I like to kick off my shoes and make my tootsie tips match my fingertips. I
often create a cheeky design on my ring fingers to add that extra ‘WOW factor’
to my manicure.

I
have created some simple steps to show you how:
What You Need:
- · A bright white nail polish; I have used Bourjois’ Blanc Glamour French Manicure Nail Polish.
- · A clear topcoat and bottom coat; I used Bourjois 1 Seconde topcoat Gloss.
- · Nail Art brushes; I recommend Topshop’s hot pink Nail Art Kit.
- · Black and Silver nail polishes (for the nail design)
- · Bourjois’ Dotting Tool, costing only £3.99


You can buy all Bourjois' fabulous nail polishes at Boots, super drug and Asos.
You can also buy Topshops' Nail Art Kit in their store or on their website here: http://www.topshop.com
My Terrific Top Tips:
- · I love to experiment and let my crazy side shine by trying different colours on my tips for special occasions. Neon bright tips for summer, red and white for valentines day and I love adding a bit of glitter for a super sparkle anytime!
- · I always put some newspaper down on my work surface to avoid spills (I admit…. I’m quite clumsy!)
- · I like to bathe my nails in warm water or milk (believe it or not) as this makes my nails healthy, so I can easily push back my cuticles before I start my manicure.
- · Use a gel nail polish (such as Bourjois’ 1 Seconde Gloss nail polish) for a gleaming topcoat, as I find that these are much harder to chip and make my manicure last longer.
- · After painting your nails, avoid doing things with your hands while they dry, to keep your nails perfect!
Step 1: Using a nail file, clean and trim
your nails to your desired length. I prefer to keep mine fairly long, but I
always file the edges gently to create a smooth even shape.
Step 2: Apply a base coat to protect your
nails, then cut a piece of clear tape and place it roughly over ¾ of your nails,
keeping the tips of your nails free.


Step 3: Paint the tips of your nails with bright
white nail polish (or you can use a creamier white/ sheer beige), and don’t be afraid
to paint over the tape (it will be peeled off soon, so the mess won’t show).
I have used Bourjois’ fantastic Blanc
Glamour French Manicure nail polish, which has a brilliant rounded shaped brush,
to fit perfectly with your tips. In the past, I have also loved using Barry M’s
and UNE’s dazzling white and off-white nail polishes, as I find them very strong and I only
need one coat for my tips to be completely white.


Step 4: Peel of the slightly messy tape and
wait for the tips to dry.
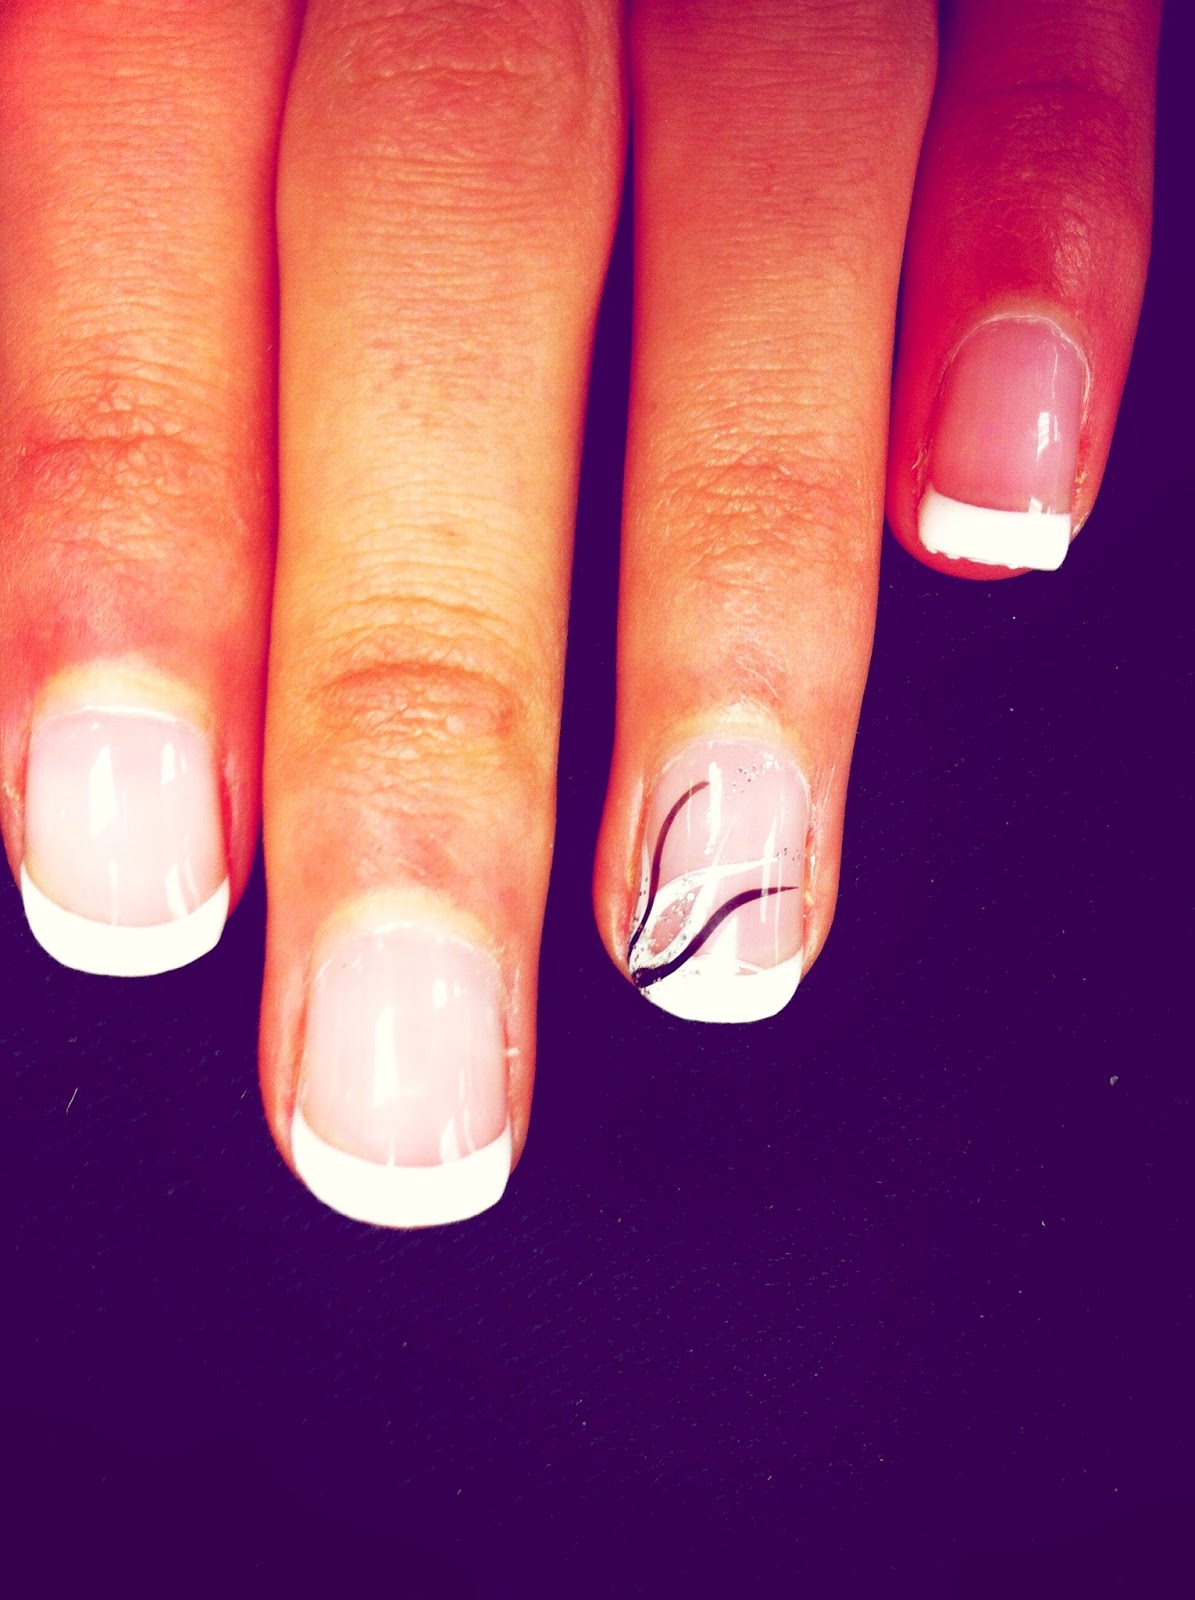
Step 5: I love experimenting with different
designs, but today I have gone for a simple monochrome look.
Using your Topshop Nail Art Brush Kit, dip a thin long shaped brush into your
white nail polish and create some strands coming out from the top corner of
your nail. Repeat with a black nail polish, such as Chanel’s Black Velvet Nail
Polish, (and don’t be afraid to swirl your lines into cool designs) You can
either use another shaped brush or Bourjois’ amazing Dotting Tool to paint/dot
on Bourjois’ 1 Seconde silver sparkly nail polish.


Step 6: Wait patiently for your nails to
dry and try not to smudge them as often as I do!or for a quicker alternative, add Bourjois Instant Dry Drops, £5.99 (this magic liquid speeds up the drying)
Step 7: Finish the funky French Manicure
with a topcoat, such as Bourjois’ 1 Seconde Gloss. This topcoat is brilliant as
it is a gel nail polish and creates a high shine finish to nails.

Do you like French Manicures?